Ask a visible mender to explain why they love to repair clothes using patches or colourful darning and the response will usually include storytelling. Most menders pride themselves on adding to the history of a garment: a cleverly patched hole is evidence of something saved from landfill.
They’ll also insist it shouldn’t be perfect. The charm of the visible mend lies in the character of its flaws, so the important thing is to have a go. Here is some advice from expert visible menders on how to get started.
Stock a sewing box
Like anything crafty, it’s important to have the right tools on hand when you go to repair something. Jo Cramer, an associate professor in the Department of Art and Design at Oslo Metropolitan University says, “You don’t need much to get started”. She suggests having a darning needle with a sharp point and large eye, a good pair of fabric scissors, a packet of pins, some embroidery threads, and an iron and board.
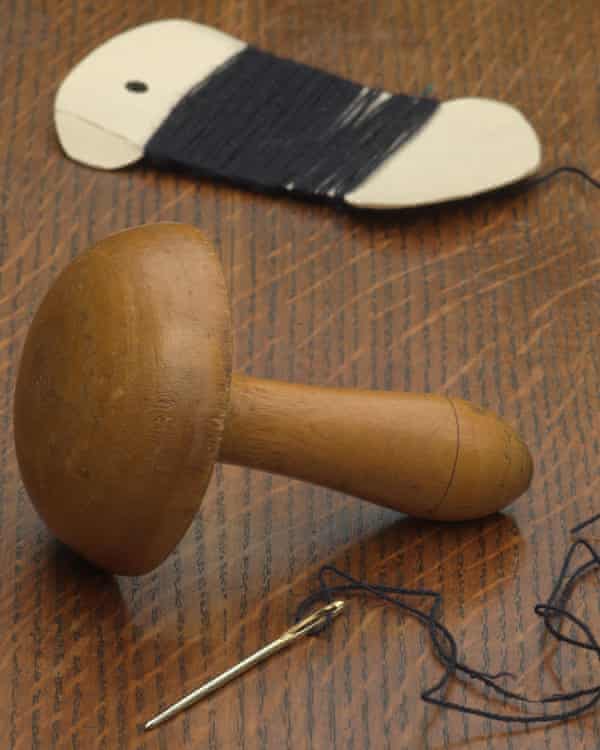
Eileen Braybrook, a textile design and craft practitioner, says her mending toolbox contains a simple sewing kit, yarn or thread, a darning mushroom, some safety pins, a fabric comb and a needles for tapestry, felting and embroidery. Most visible menders also collect scraps of fabric to use as patches later.
Practice to perfect
Before you try to do a repair on your favourite sweater, it might be wise to master a few basics. Erin Lewis-Fitzgerald, the author of Modern Mending, recommends practising stitching, darning and patching on socks and tea towels because the “stakes are low, and they’re washed and used regularly, so you can see how your mends hold up over time”. She advises using contrasting thread so it’s easier to see what you’re doing.
Learn your stitches
When you’re just getting started, Cramer suggests learning how to do a backstitch, which is a straight-line stitch. Simply thread up a needle, knot the end of the thread and push it through the fabric until you feel the knot hit, then make a small stitch and push the needle back through.
On your next stitch, pull the needle up, leaving a small space between the end of your first stitch, and then stitch backwards (hence the name) so you poke the needle through at the closest end of the original stitch. You should have two neat stitches on one side, and one long stitch underneath. Repeat this to form a straight line.
Another thing Cramer recommends mastering is a satin stitch. Used for embroidery, each stitch is done as close to the one beside it as possible, creating a block of stitches.
Covering stains
A satin stitch can be a useful way of covering up small stains. Cramer says, “stitch a border around the perimeter of the stain” using a back stitch, then fill the shape in with a satin stitch or other decorative stitch types.
Lewis-Fitzgerald says another way to cover stains creatively is by using fabric paint or markers. “Depending on the stain’s location, you could stitch a new pocket over it and get some added functionality, too.”
Patching holes
Like stains, there are multiple ways to repair holes, including darning and patches. But Lewis-Fitzgerald says you need to account for what caused the hole. If it’s the result of “regular wear and tear”, you will need a stronger solution than one you’d employ if it’s the result of a one-time accident like a cigarette burn or a moth hole.
For crotch holes in jeans, Cramer recommends machine darning, which requires a sewing machine. “Put a patch of thick cotton or denim behind the tear and machine darn over the surface,” she says. “Check your machine’s manual – [it] probably has a special darning stitch.”

Holes in knees can be taken care of with a Sashiko hand stitch over the top of a patch. A Sashiko stitch is essentially a running stitch, but when done with a contrast thread it can be used to create pretty or geometric patterns across the patch. She suggests searching online for examples to draw inspiration from.
Cut the patch to the desired shape and pin it into place over the hole. Take a threaded needle – starting a few centimetres from the edge of the hole to capture sturdy parts of the fabric – and push the needle through from the underside of the fabric. Either run a stitch around the edge or simply begin by stitching across the patch. Continue working back and forth across it until the patch is secure.
Darning knitwear
Knitwear has to be approached differently.
For reinforcing patches in knits, start at the bottom of the V-shape in the stitch, bring your needle up through the base of the stitch from the back, then loop it under the two strands of yarn that make up the shape of the V. Pull it through, and complete the stitch by poking the needle back through your starting point at the bottom of the V. The effect is to weave new stitches over the top of the old ones, and the technique can also be used to cover stains.
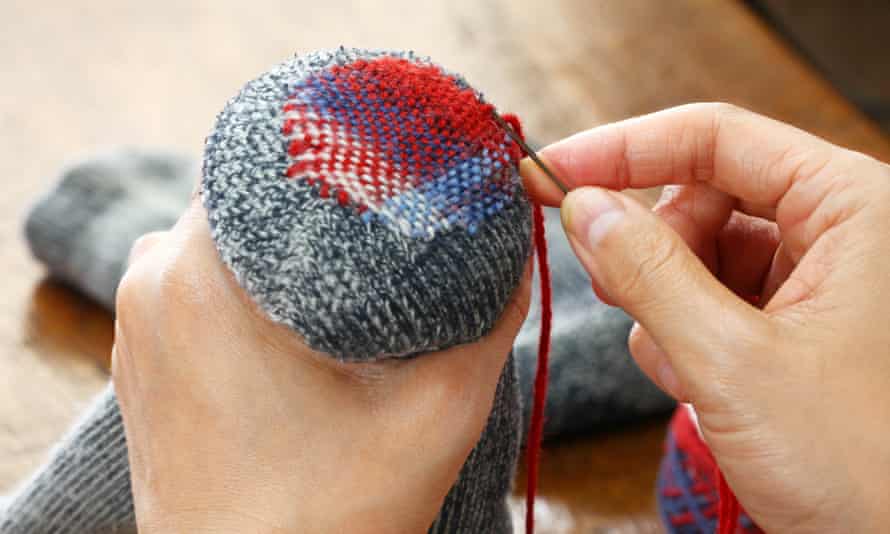
To repair a hole, Cramer says to use Swiss darning as a “method of picking up the loops around the edges of a hole and filling in with new stitches”. She says to try contrasting colours. “This can be particularly pretty when moth holes are filled in across a jumper in lots of different colours – like a sprinkle of confetti!”


