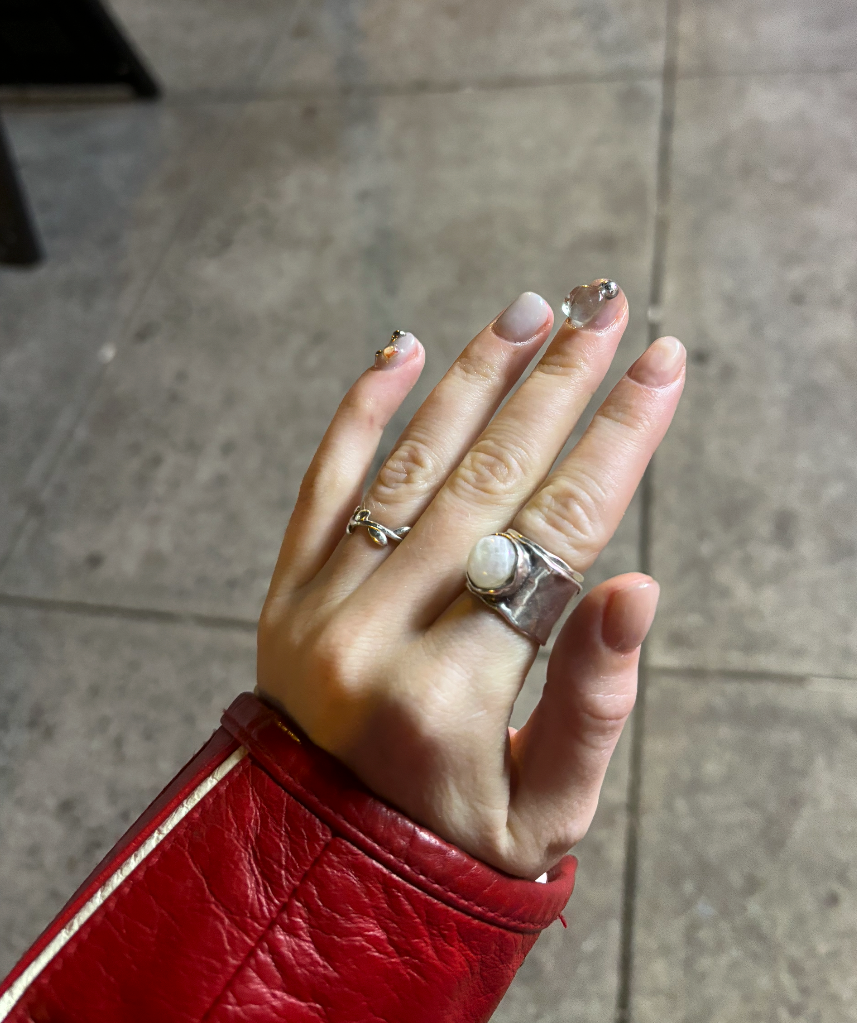
For press-ons, Higuchi swears by Apres Extensions to build the design. To prep the nails for press-ons, she gently pushes back the cuticle, buffs the nail bed, and wipes nails with acetone to remove any oil. She then applies double-sided tape, advising not to use cuticle oil or moisturizer after, since it can ruin the adhesive.
If your 3D manicure is going directly on your natural nails, use cuticle oil to keep your natural nails hydrated and healthy so they won’t break under the textured design. To create a strong base, Rodriguez cleaned my nails and trimmed my cuticles to improve the staying power of the gel.
How much does 3D nail art cost?
Expect an appointment to run for a minimum of an hour and up to three depending on the complexity of your design. Prices vary and can range anywhere from $75 to $300.
How do you maintain 3D nail art?
This manicure is meant to last: Nails done exceptionally by a professional will last up to three weeks, and press-ons can last up to two weeks with good care. I followed a few simple rules laid out by Rodriguez and Higuchi to ensure my manicure lasted the longest it could, including limiting my hand sanitizer use (instead opting for an antibacterial soap) and continually moisturizing my hands.
“I truly believe that nailing the prep, choosing the right products, and using a gentle removal process make up 90% of the recipe for a long-lasting mani,” says Rodriguez. Higuchi agrees and recommends protecting your nails from any damage. “Wear gloves when you do household chores, and don’t use your nails as tools, like for opening cans or packages,” she adds.
By the time I returned for removal two weeks later, my 3D nail art was still completely intact. “If chips or lifting do happen, skip the DIY fix and head to a pro ASAP,” Rodriguez says. “Messing with a damaged manicure is dangerous territory. And peeling off gel nails or fiddling with intricate 3D designs can damage the health of your nails, making future manis even shorter-lived.”
How do I remove 3D nail art?
Don’t get crafty—leave it to the professionals. During removal, an e-file—a professional drill—is used to break the gel seal, followed by an e-file with a smaller attachment to work away at the spaces under and around the adhered stones. After the seal is broken, stones and charms are gently removed with two sets of pliers. My nails were shaped and built with gel; therefore, the removal process was easier and took about 30 minutes.


