
I cannot tell you how much I love crumpets. The very word brings me joy – though not, it must be confessed, as much as the real, butter-laden deal. You can, of course, buy them in plastic-wrapped packs of six, but they never taste quite as good as the homemade sort, and this reworked recipe is perhaps my proudest achievement to date.
Prep 10 min
Rest 2 hr
Cook 10 min
Makes 10
150g strong white bread flour
100g plain flour
4g instant yeast
1 tsp salt
1 tsp sugar
250ml whole milk
½ tsp baking powder
20g butter or oil, for greasing
1 A note on the kit
Unless you’re hoping for the thinner, free-form pancakes that I know as pikelets (see step 9), you will need crumpet rings to make these. I’ve recently discovered nonstick ones, which make life a lot easier, though the plain metal sort are cheaper. You can also use (non-fluted) biscuit cutters, or make your own from folded heavy-duty foil (look online for directions).
2 Mix the dry ingredients
Put both flours (or use 250g of one sort, if you prefer, but I find this combination gives the best texture) in a large bowl or stand mixer, then whisk in the yeast, followed by the salt and sugar. If using fresh or active dry yeast, you’ll need 12g or 6g, respectively, and to reactivate the latter according to the packet instructions.
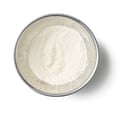
3 Heat the milk, then add to the mix
Put the milk and 50ml water in a saucepan, gently warm to tepid, then mix into the dry ingredients. Beat until there are no lumps of flour visible, then cover with a tea towel or similar, and leave in a warmish, draught-free place for about 90 minutes, or until doubled in size (putting the dough in a glass bowl will make this easier to judge).
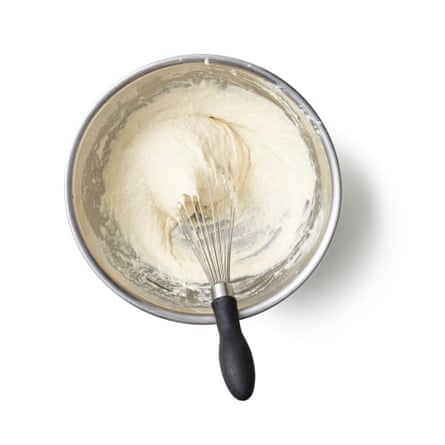
4 Add baking powder and prove again
Once the batter has risen to your satisfaction (trust your eyes rather than the clock here), mix the baking powder with 70ml tepid water, then beat into the dough until smooth and well distributed. Cover the bowl again and leave to prove in a similarly temperate spot for another 30 minutes.
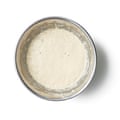
5 Grease and heat the pan
Meanwhile, melt the butter (or use oil, if you prefer), then use it to grease four crumpet rings, even if they are nonstick. Once you’re ready to cook, lightly grease a large frying pan, flat griddle or tawa (I do prefer oil here), then put it on a medium-low heat until a drop of water sizzles on the surface.
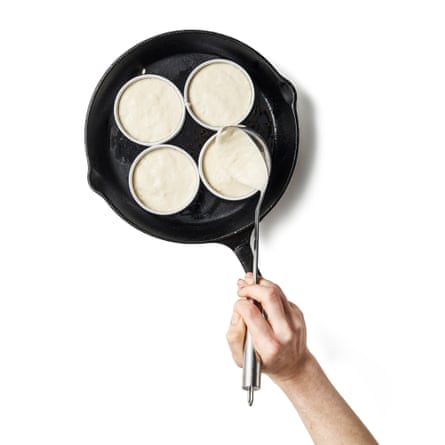
6 Add the rings, ladle in the batter and cook on one side
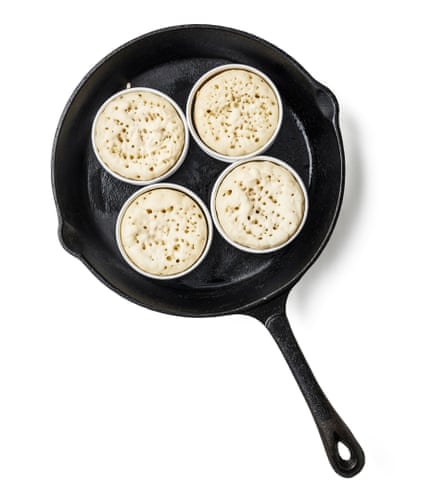
Put the greased crumpet rings in the pan, making sure they sit flat against the surface, then ladle a spoonful of batter into each one, so it fills them by about a third – the batter should begin to bubble almost immediately. Cook for eight to nine minutes, until the crumpets look fairly dry on top.
7 Flip and cook on the other side
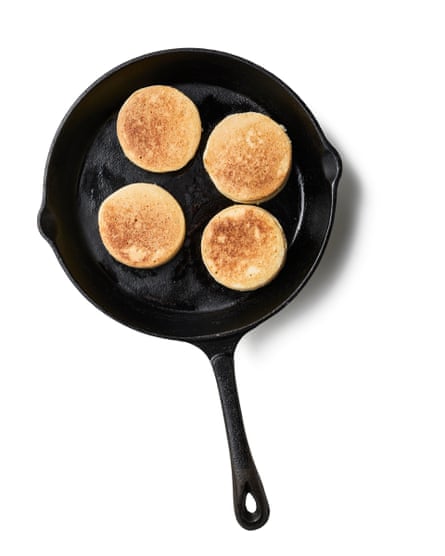
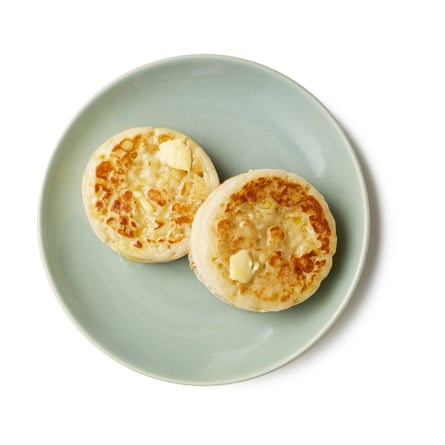
Carefully lift off the rings, bearing in mind that they will be hot, then flip over the crumpets and cook on the other side, until lightly golden underneath. If you’re planning on eating them immediately, you can take both sides a little darker (a flabby, undercooked crumpet is a minor tragedy), then slather with butter and devour.
8 Leave to cool, store, then toast
If you’re not eating them immediately, lift the pale golden crumpets out of the pan and put them on a rack to cool. When you are ready to eat (once made, the crumpets are best consumed in a couple of days), toast to a rich brown. Alternatively, wrap each cooled crumpet well, put a small sheet of greaseproof paper between each one so they don’t stick, and freeze for up to three months. To serve, toast straight from frozen.
9 And if you don’t have crumpet rings …
If you don’t have crumpet rings, prepare the pan as above, then drop in spoonfuls of the batter, keeping them spaced well apart, because they will spread. Once they begin to look dry on top and set below (which will happen quickly), flip and cook as above, until golden brown on both sides. Consume or store as in step 8.

